Grout Cleaning

Welcome to my Work History archive where you will find detailed examples of the cleaning and renovation of Grout carried out in Stirling

Cleaning and Renovating Grout

The top layer of grout is porous and can absorb grease, dirt and limescale. Spillages such as wine, lemonades or greasy substances will cause marks and patches in the joints in the floor. Grout between wall-tiles particularly in damp areas like bathrooms will become dirty and unattractive as a result of Mould, Mildew and Limescale.

Mould is one of the most unsightly problems, which usually starts off in the wettest area of the room, this could be the bottom of the shower or bath, then starts to spread and if left unchecked could cover a large area of the wall.

Another common issue we find is a problem known as Grout Haze or Grout Smearing where a thin layer of grout has been left to set on the surface of the tile. Once grout has set it is difficult to remove.

Discolouration of grout joints in bath or shower areas due to continued use of acid formulated shampoos and soaps. This causes yellow orange and pink stains to the grout over even a short period of time. Whilst Grout Joints can be cleaned, badly stained grout may need to be re-coloured.

Protecting your grout in advance with a sealer will prevent most of these issues and although relatively unknown in the UK, protection awareness is growing. Sealing forms an invisible barrier between the grout and the surface, this will then protect your investment for years to come.

We have solutions for all the problems listed above and below you will find detailed examples of work we have carried out in the past to resolve many of these issues. It should give you some idea of what’s involved and what can be achieved with the right techniques and products.


Ceramic Tiled Floor Grout Restoration in Cumbernauld

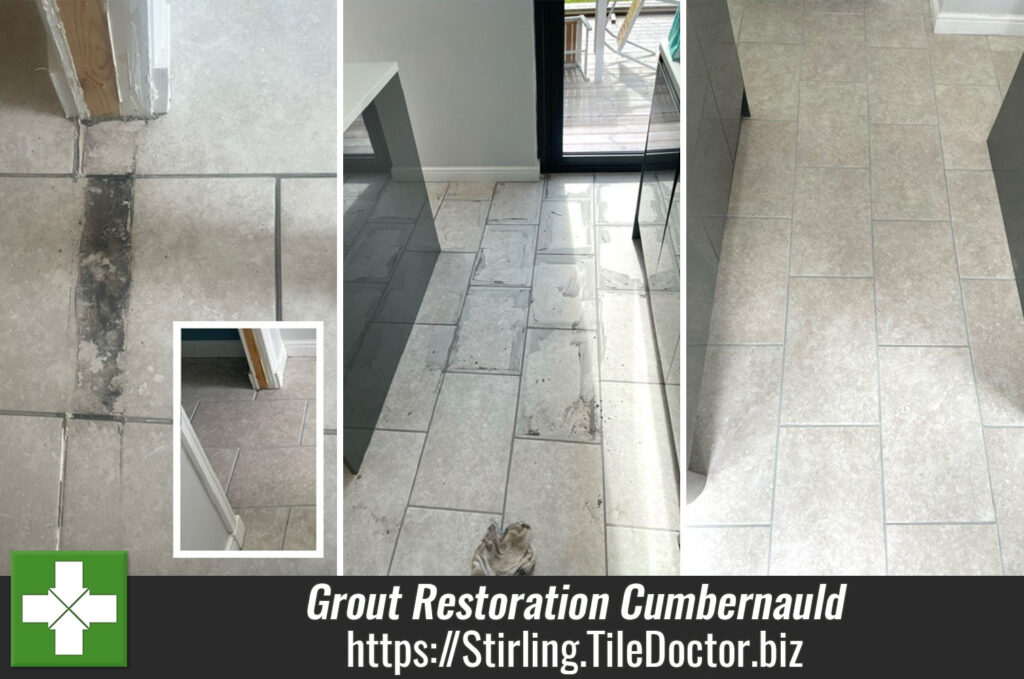
Discoloured and missing Grout Restored on a Ceramic Tiled Floor in Cumbernauld

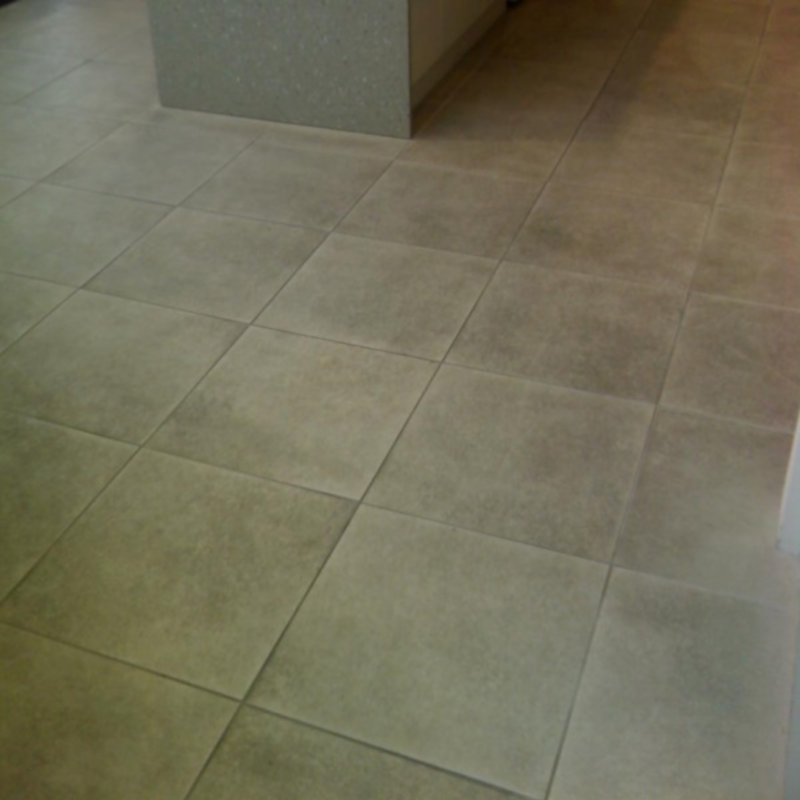
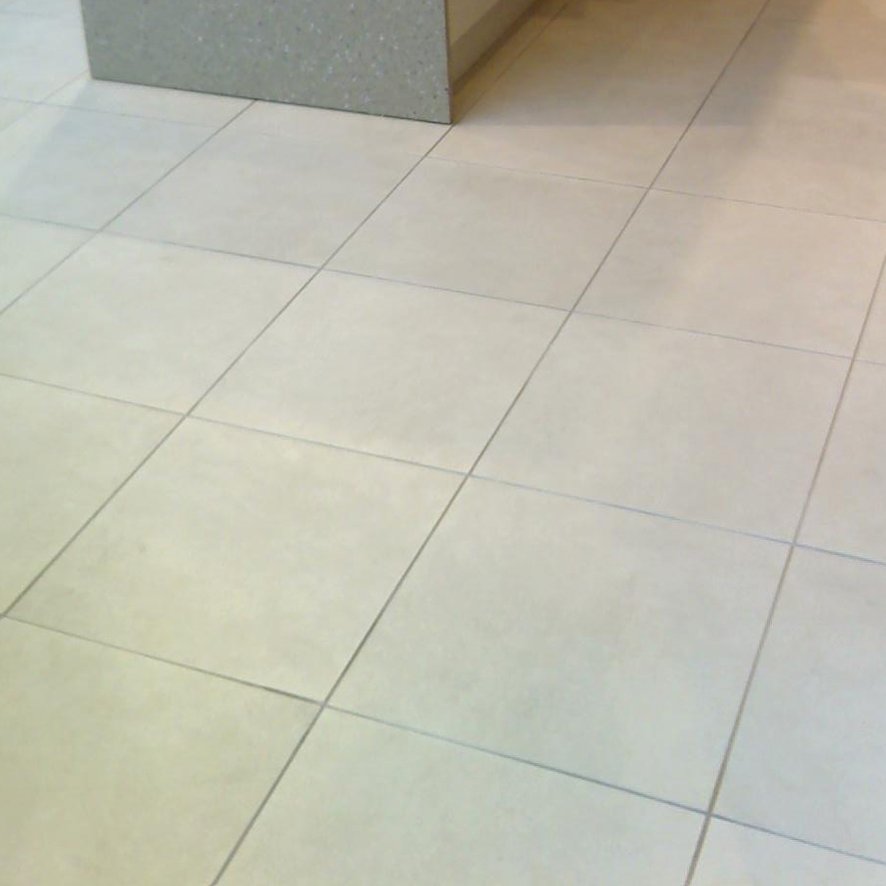
These clients in Cumbernauld had recently moved into a new home with light grey ceramic tiles covering the kitchen, dining area, and lounge floors. Whilst the tiles were mostly in good condition and the clients wanted to keep them, the grout was a problem. The grout was discoloured throughout the installation and in some places, it was damaged or completely missing.
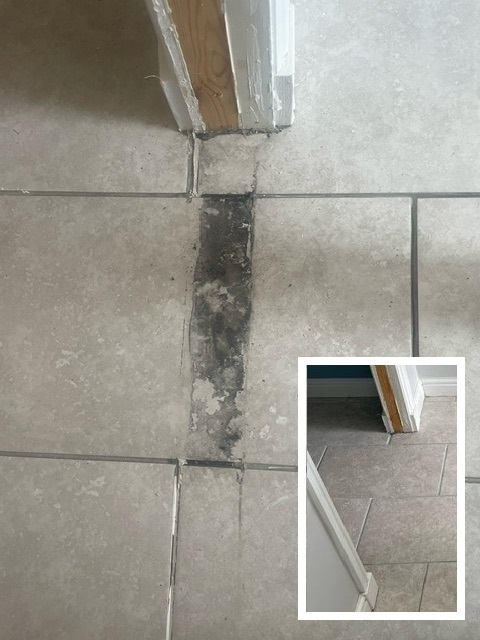
Ceramic Tiled Floor Before After Damage Repaired Cumbernauld

Discoloured grout is one of the main problems we find with ceramic or porcelain tiled floors, this is because the tiles are impervious, and any dirt tends to get washed off into the grout line. The surface of grout is porous and so it will attract dirt over time and unless its sealed it will start to stain and discolour.

Having reviewed the floors, I recommended deep cleaning the tiles paying particular attention to the grout lines, replacing grout where required and then applying a grout colourant to achieve a consistent appearance throughout. Grout colourants seal in the grout thereby making it as impervious as the adjacent tiles and much easier to keep clean.

Happy with my quote we set a date for my return to do the renovation.

Deep Cleaning and Recolouring Grout on a Ceramic Tiled Floor

To thoroughly clean the tiles and grout I applied a 5 to 1 dilution of Tile Doctors Pro-Clean and left it to soak into the tiles for ten minutes. Then using a stiff bristle brush the solution was worked over the tiles and the soiling removed using a wet vacuum. The grout was then cleaned separately using the same approach with a grout brush. The floor was rinsed with clean, cold water and dried as much as possible with the wet vacuum.

Once the cleaning was complete, the damaged grout was removed and repaired using a light grey flexible grout, matching the desired recolouring.
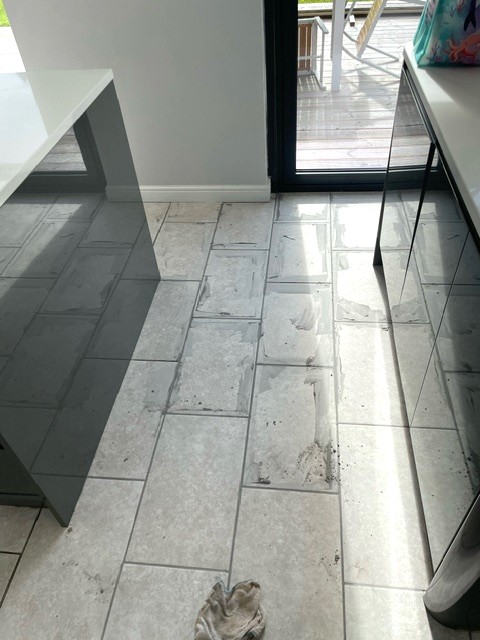
Ceramic Tiled Floor During Grout Repairs Cumbernauld

The recolouring process had to be done carefully in small sections to prevent the solution from drying on the tile surfaces and causing staining or damage. We selected to use Tile Doctor Grout Colourant in light grey. This product is available in eleven shades. This is a slow process, but the results are well worth the time spent.
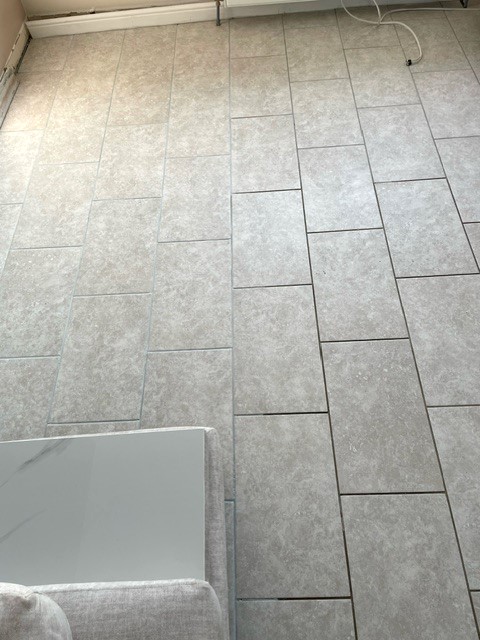
Ceramic Tiled Floor During Grout Colouring Cumbernauld

The recoloured grout gave the entire floor a lighter, refreshed appearance. It’s a cost-effective way to renew the space and certainly much quicker than regrouting.

The clients were very pleased with the result, which is evident in the before and after photos showing the repaired tile at the doorway, regrouting the floor and the lounge floor showing the difference between recoloured grout and old grout.

As the tiles are ceramic there is no requirement to apply a sealer, they are sealed with a glaze at the factory. For aftercare cleaning I recommend Tile Doctor Neutral Tile Cleaner which is a pH neutral product that won’t impact the grout colour. The stronger floor cleaning products you find in supermarkets can be too strong and often contain bleach.
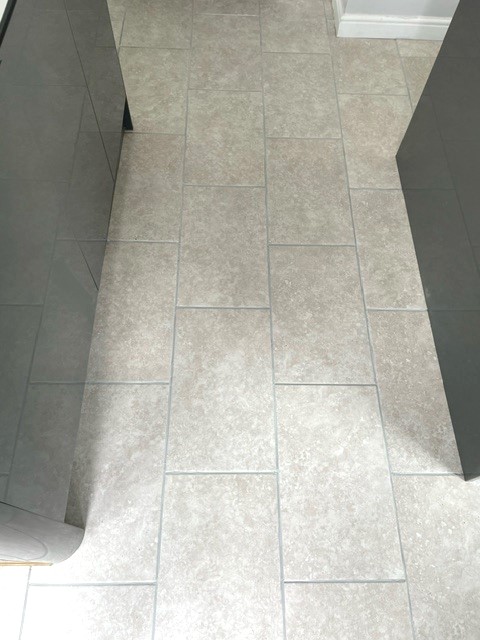
Ceramic Tiled Floor After Grout Repair and Colouring Cumbernauld


Professional Grout Restoration on a Ceramic Tiled Floor

Discoloured and missing Grout Restored on a Ceramic Tiled Floor in Cumbernauld Read More »

Terracotta Tiled Conservatory Floor Renovation Bannockburn

Cleaning and Sealing Terracotta Tiled Flooring in Bannockburn

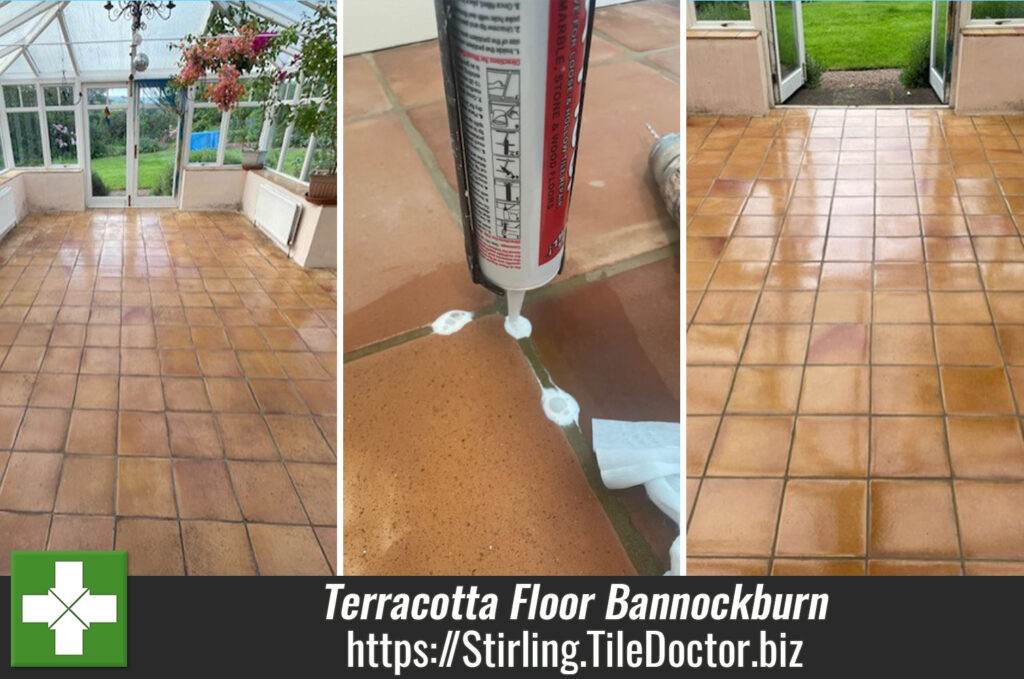
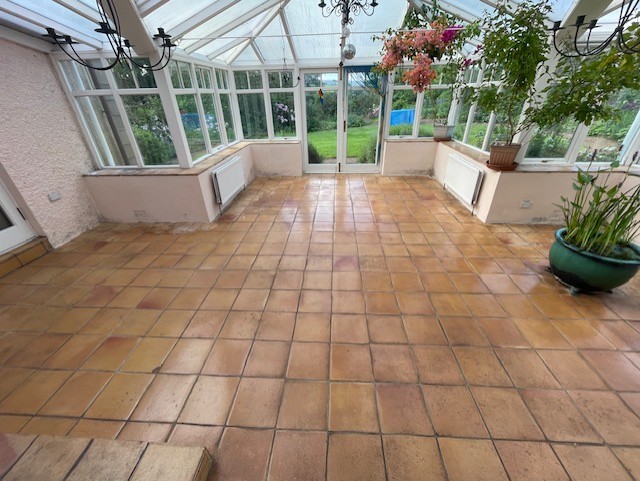
This cottage in Bannockburn had 70m2 of Terracotta tiled flooring in various rooms across the property including the conservatory, kitchen, utility room and porch. The tiles had not been sealed since they were laid 30 years previously and now needed renovation, including removing what was left of the old sealer, deep cleaning then and resealing.

Terracotta Tiled Conservatory Floor Before Renovation Bannockburn

Without an active sealer protecting the porous Terracotta had no protection from ingrained dirt and were heavily soiled in the busier areas, also some of the tiles were loose and wobbly.

I worked out a quote for the renovation and due to the size of the area I planned on splitting the work into three sections. This would make the job more manageable and has the advantage of minimising the impact on the homeowner’s movement around their home. Happy with my plan the quote was accepted and we worked out a schedule for the job to start.

Cleaning a Terracotta Tiled Ground Floor

Before starting work in a section all the moveable furniture was removed and the rest was protected from the cleaning and resealing process. To tackle what was left of the old sealer and deep clean the Tile and Grout a strong dilution of 2 parts water to 1 part Tile Doctor Pro-Clean was applied to the floor.

The strong dilution makes an extremely effective as a stripper and cleaner and was applied with a cloth and then left for ten minutes. This gives the product time to breakdown the dirt and old sealer. The floor was then scrubbed using a black pad and then once complete the soiled solution was removed with a wet vacuum. The floor was then rinsed with clean water and extracted again.

The next stage of the process was to neutralise the floor as it would be alkaline after the clean. To do this I used an acid to rinse the floor called Tile Doctor Grout Clean-Up. This product not only neutralises the floor preventing the build-up of efflorescence which can be a problem for old floors. It also provides a better bond between the floor and sealer. During this process a grout brush was used to ensure all the grout had been reached during the cleaning process. The Tile Doctor Grout Clean Up solution was then extracted with the wet vacuum and then the floor is thoroughly rinsed.

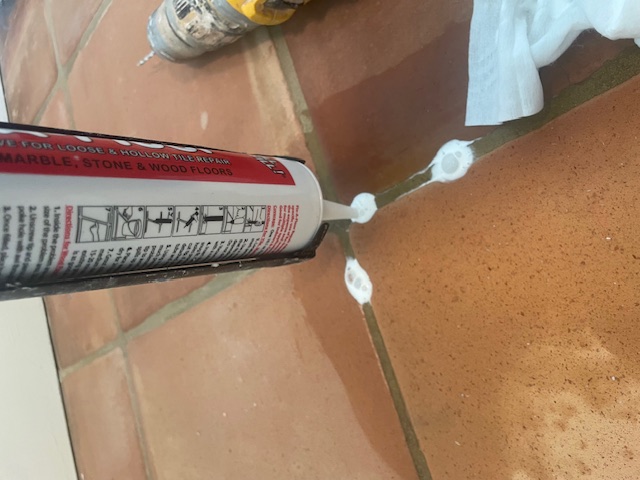
While the floor area that had just been stripped and cleaned was left to dry before sealing, I repaired the “wobbly” tiles which will prevent them from cracking and becoming a hazard. Small holes were drilled into the grout around the moving tile and then injected with a filler. The tiles were then left for 24 hours for the filler to cure and then the tiles were tested to ensure the issue has been fixed.

Terracotta Tiled Conservatory Floor During Renovation Bannockburn

Sealing a Terracotta Tiled Ground Floor

When the tiles had been thoroughly cleaned, rinsed and given time to dry, they were tested with a damp meter to ensure they were dry and ready for sealing. The readings were fine and I had selected two different sealers to protect the floor. Two were needed to match the clients finish requirements which were to enhance the colour of the tiles and for them to have a slight sheen finish.

First the tiles were given a coat of Tile Doctors Colour Grow sealer which as the name states enhances the natural colours in terracotta tile. The coat was given 30 minutes to dry before the second sealer was applied.

The second sealer was Tile Doctors Seal and Go which is a topical sealer and works well with Tile Doctor Colour Grow. Tile Doctor Seal and Go leaves a slight satin sheen on the tiles and six coats were needed to complete the process. This did take some time as each coat needed time to dry before the next coat was put on.

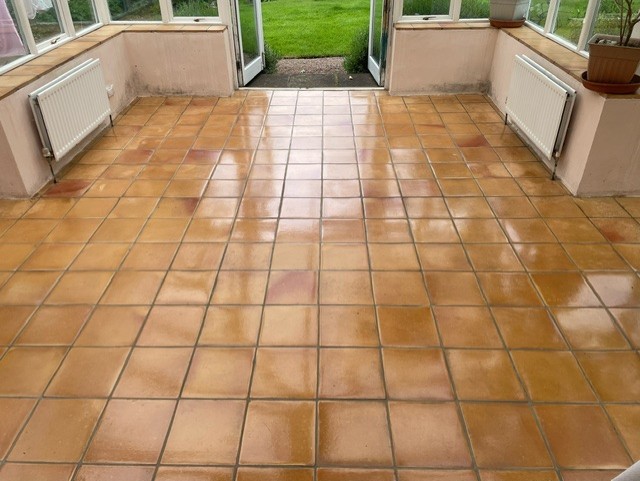
Terracotta Tiled Conservatory Floor After Renovation Bannockburn

For aftercare cleaning I recommend the use of Tile Doctor Neutral Tile Cleaner which is a mild but effective Tile and Grout cleaner that won’t upset the sealer which can be the issue with the stronger products you find in supermarkets.


Professional Restoration of a Terracotta Tiled Ground Floor in Stirling

Cleaning and Sealing Terracotta Tiled Flooring in Bannockburn Read More »

Slate Kitchen Floor Renovation Dunblane

Deep Cleaning and Sealing a Slate Tiled Kitchen Floor in Dunblane

Due to scheduling conflicts, I was unable to survey this Slate tiled floor at a property in Dunblane. This was mainly due to the client who didn’t live at the property and was only available on certain dates. As a result, I requested detailed photos and measurements of the kitchen, which allowed me to assess the tiles and provide a quote for renovating the floor. This is not ideal, especially for old floors but in this case, I was happy this would be a straightforward clean and seal.

The proposed work would take two days and involve removing the remaining old sealer, deep cleaning the slate, and then resealing the tiles with a matte finish sealer. It’s important to remove all the old sealer before applying new as busier parts of the floor will wear the most resulting in different levels of sealant across the floor.

I worked out a detailed quote for the renovation, which was accepted, and dates agreed to complete the work.

Cleaning a Slate Tiled Kitchen Floor

Work began by adding protection to the kitchen units, I use a lot of water during the cleaning process and didn’t want to mark them in anyway. Once that was done a strong dilution of Tile Doctor Remove and Go was applied to the floor and left to soak into the stone for ten minutes. This gives it time to breakdown the old coatings and being an alkaline product its safe for use on all types of stone or tile. A 200-grit diamond pad fitted to a rotary floor buffer was then applied to the tiles and work the solution into the stone. This process strips off the remaining sealer and pulls the dirt out of the pores of the stone.

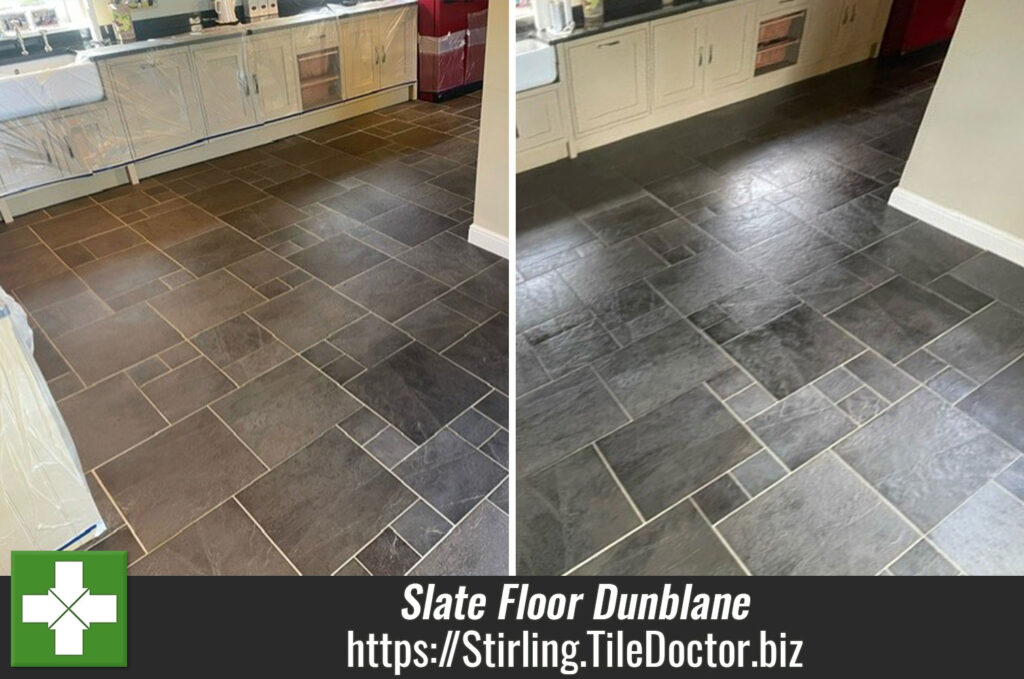
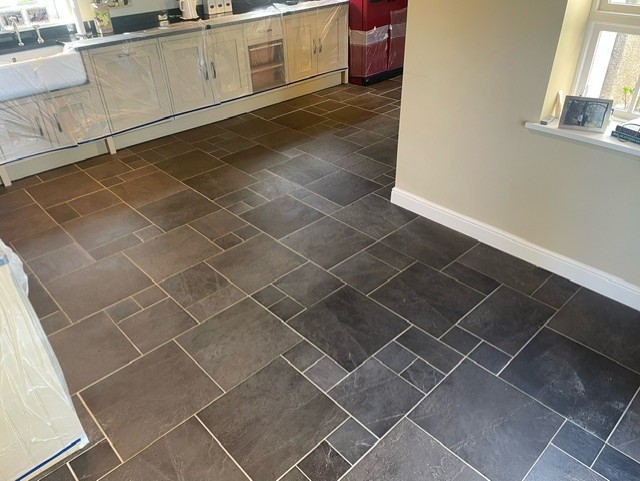
Slate Kitchen Floor Before Cleaning Dunblane

This was then followed with grout cleaning brush along the grout lines and corners to ensure I reached all the areas which needed to be cleaned. The floor was then thoroughly rinsed, and the soiled solution was removed using a wet vacuum.

Next, I treated the floor with an acid wash using Tile Doctor Grout Clean-up. This product is effective for removing grout smears and other mineral deposits, it also neutralises the pH level of the floor after the use of the alkaline Tile Doctor Remove and Go. After using the rotary cleaning machine and black pad to work the solution into the tiles I rinsed the floor and extracted all the soiling with the wet vacuum.

Sealing a Slate Tiled Kitchen Floor

The floor was left to dry overnight and returned the next day to apply the sealer. Before doing so, I checked the moisture level of the tiles with a damp meter to check they had dried sufficiently. This step is crucial, as applying sealer to a damp floor can lead to an inconsistent finish.

The sealer chosen for the Slate tiles was Tile Doctors Colour Grow. This was chosen as the client wanted a matt finish and was keen to bring out the natural colours in the Slate. Two coats of sealer were applied to protect the floor from ingrained dirt. The first coat was applied and after 5 minutes the excess sealer was removed with a white cotton cloth. After half an hour passed the second coat was applied and again the excess sealer was removed. A water test was completed after 2 hours to ensure the sealer had worked.

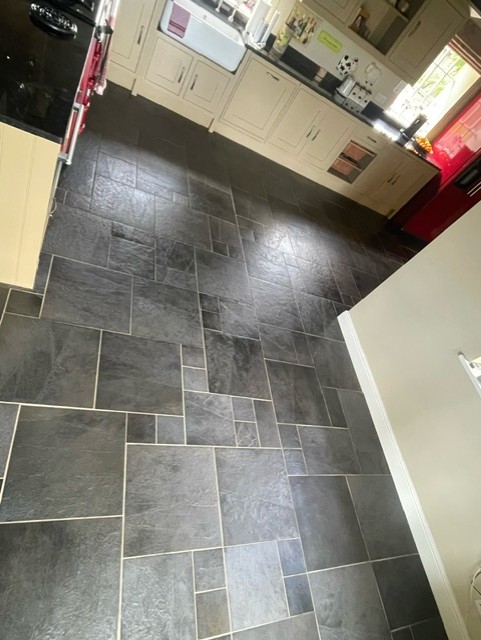
Slate Kitchen Floor After Cleaning Sealing Dunblane

Once done the Slate tiles looked so much brighter and the grout was consistently clean. My client was delighted with the finished appearance of the Slate tiles as the true colour was again visible.

Before leaving we discussed aftercare cleaning and the importance of avoiding strong cleaning products which can damage the sealer. Because of this I always recommend Tile Doctor Neutral Tile Cleaner which is pH neutral.


Professional Restoration of a Slate Tiled Kitchen Floor in Stirling

Deep Cleaning and Sealing a Slate Tiled Kitchen Floor in Dunblane Read More »

Textured Ceramic Shop Floor Tiles Before After Cleaning Stirling

Textured Ceramic Flooring Deep Cleaned in Stirling Shop

The anti-slip nature of Textured Ceramic tiles make them a popular choice for public areas such as in this case a shop floor in my local city of Stirling. They do have a major drawback though, in that the rough textured surface which gives the tile its anti-slip property traps dirt over time making them look very unattractive and very difficult to clean effectively.

Textured Ceramic Tiled Shop Floor Before Deep Cleaning Stirling

The photograph below shows just how dirty my customers shop floor looked when I arrived to survey the floor. Despite cleaning the floor with all manner of supermarket products the tiles looked incredibly dirty and did not provide the clean inviting appearance they wanted to portray. The shop was due to open for the first time shortly and desperate to resolve the situation we were asked to come over and give the ceramic tile and grout a really deep clean.

If you’re not familiar with Stirling, then you should know its steeped in history and was once the capital of Scotland. It was also the location of several battles during the Scottish war of independence from England involving William Wallace and Robert the Bruce.

Deep Cleaning Textured Ceramic Shop Flooring

Normally on commercial projects we get involved in we have to work outside of normal opening times as its not practical to deep clean a floor with people coming and going fortunately however this was not a problem in this case.

After clearing the floor space, we set to work soaking the tile and grout in a medium dilution of Tile Doctor Pro-Clean which is our go to Tile and Grout cleaner. It was left to soak into the tile for about ten minutes before the floor was scrubbed, so it could get to work on breaking down the dirt. To make light work of scrubbing the solution into the floor we used a coarse diamond burnishing pad fitted to a rotary floor buffer. It was interesting to see the cleaning solution turning black with dirt as we moved across the floor.

Once done the soiled cleaning solution was rinsed off the floor with water and then extracted with a wet vacuum. Next step was to give the grout a good scrub using a repeat of the same process however we find a stiff scrubbing brush run over the grout lines works best for this as pads can struggle to reach into the recesses of the grout.

The process worked well and after rinsing and extracting again we did a final inspection spot treating any stubborn areas with a repeat of the same process until we were satisfied the tile and grout were as clean as they could be.

The floor looked really fresh by the time we had finished, and you can image my client was very pleased with the results and relieved that the floor looked clean again.

Textured Ceramic Tiled Shop Floor After Deep Cleaning Stirling


Professional Shop Floor Tile and Grout Cleaning in Stirling

Textured Ceramic Flooring Deep Cleaned in Stirling Shop Read More »

=================================

Stirling Tile Doctor

================================= Read More »

Scroll to Top