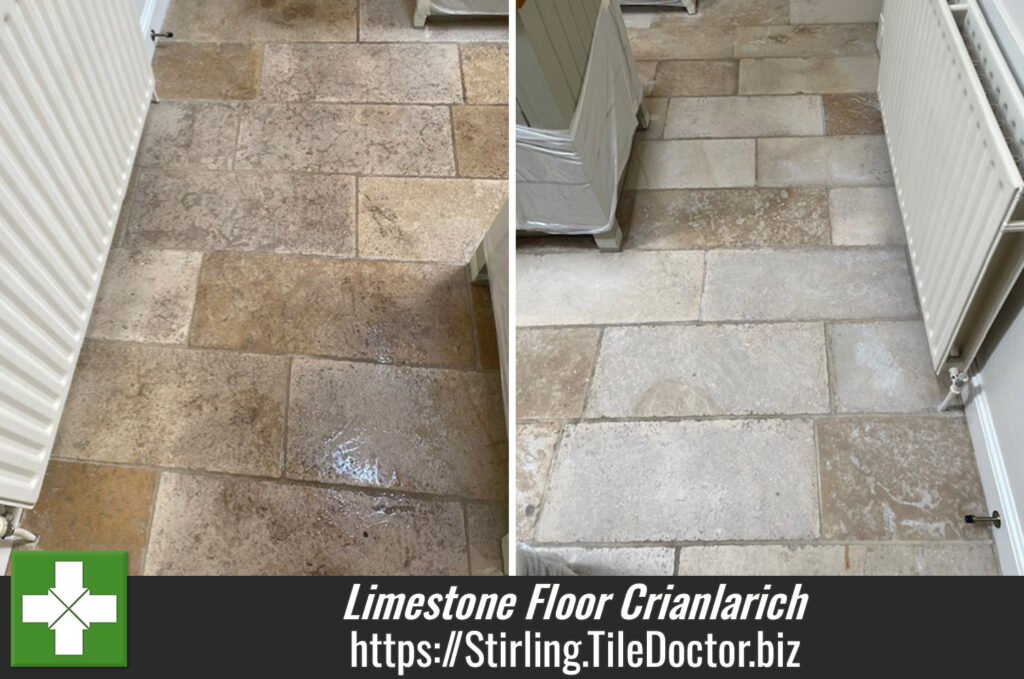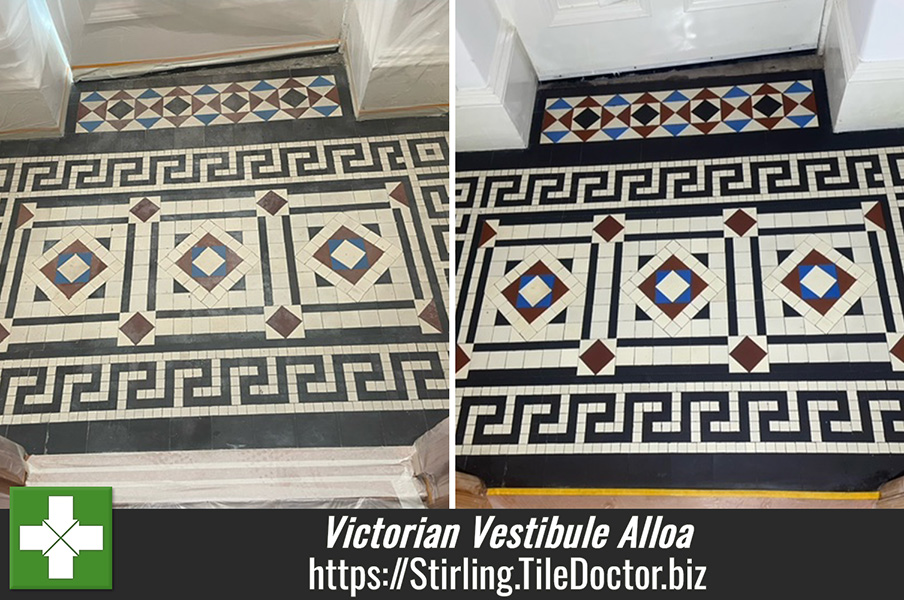
Stained Victorian Tiled Vestibule Floor Renovated in Alloa
This client from Alloa has a small Victorian Tiled vestibule at the entrance to their property that needed attention. The lovely Victorian tiles had been stained with white paint during decorating by the previous owners. They had managed to clean most of the paint off themselves but this had stripped off the sealer in the process leaving it vulnerable to ingrained dirt resulting in the dull appearance you see now. Keen to have the vestibule looking its best the client contacted us to address the issue and restore the tiles to their former condition.

An inspection of the tiles revealed no damp proof membrane beneath the floor, likely due to the age of the property. Using a lot of water on a floor without a DPM can encourage the appearance of efflorescence (salt deposits) as the floor dries so we opted to use gel products instead of diluted strippers and cleaners. This approach helps reduce excess moisture during the cleaning process.
Cleaning a Victorian Tiled Entrance Vestibule in Alloa
After adding protection to the adjacent skirting work started on cleaning the tiling using Tile Doctor Oxy-Gel which was spread over the tiles and allowed to soak in for 15 to twenty minutes. This dwell times give the product time to break down the soiling and soften other contaminates. The product was then scrubbed into the floor using a coarse 200-grit pad fitted to a rotary buffer, passing over each tile at least four times to bring the dirt and soiling to the surface where it was removed with a wet vacuum. The floor was then given a rinse with water to remove any remaining soiling and extracted with the wet vacuum.
To complete the restorative cleaning process, the tiles were given and acid rinse using Tile Doctor Acid Gel which was left to soak in got five to ten minutes before being scrubbed in, this time using a black pad. This product neutralises the alkaline cleaners used earlier and will also dissolve any salts that may be present in the floor. Next, I extracted the soiled solution and thoroughly rinsed the tiles with cloths and water to minimize moisture levels. After a final vacuum the floor was left to dry off overnight.
Sealing a Victorian Tiled Vestibule in Alloa
The next day, the floor was tested to ensure the Victorian tiles were dry enough for sealing. This is an important step as applying sealer to a damp floor will lead to an inconsistent finish.
The floor was dry and so ready for sealing with Tile Doctors Colour Grow, a tough colour enhancing breathable impregnator that’s well-suited for an entrance hall that will see heavy foot traffic and wet shoes. Two coats were applied, with any excess removed with clean cloths five minutes after each application. A forty-minute drying time was allowed between coats and then after two hours, a water test confirmed the sealer was working properly. The sealer becomes walkable in four hours and fully cured within twenty-four hours.

It’s crucial to maintain the floor properly and using regular tile cleaner on sealed tiles is inadvisable, as they can strip the sealer over time. Instead, a bottle of Tile Doctor Neutral Tile Cleaner was provided for cleaning the floor. This pH-neutral cleaner effectively removes dirt and grime without damaging the sealer, helping to extend the sealer’s lifespan and protect the tiles.
Professional Restoration of a Victorian Tiled Entrance Hallway in Stirling
Stained Victorian Tiled Vestibule Floor Renovated in Alloa Read More »